Dec 20, 2025
•
3D Printing Services
Designing for 3D Printing - Essential Criteria for Perfect Models
Design & DigitalizationIntroduction
Creating a great 3D print starts long before the printer begins its first layer — it starts with a smart, well-prepared digital model.
Whether you’re building a prototype, an artistic piece, or a mechanical part, designing for 3D printing requires understanding how digital geometry interacts with real materials.
At Layers 3D Printing and Modeling, we’ve worked with thousands of 3D models and learned that even small design improvements can mean the difference between success and failure.
Here’s a practical guide to the most important criteria for designing print-ready 3D models.
1. Maintain Proper Wall Thickness
The minimum wall thickness defines how thin a surface can be without breaking during printing or post-processing.
Each material and technology — FDM, SLA, or SLS — has its own limits.
If walls are too thin, they may warp, crack, or fail to print at all.
Tip:
- For most FDM prints, walls should be at least 1–1.2 mm thick.
- For SLA resin, 0.6–0.8 mm is acceptable for small features.
- Reinforce weak areas by slightly increasing thickness where needed.
Balanced thickness ensures strength, stability, and high-quality surfaces.
2. Choose the Right Material
Not all materials behave the same way.
PLA is easy and affordable, ABS is tough, PETG offers flexibility, and resins give high detail but can be brittle.
Before designing, always check the material properties — strength, flexibility, temperature resistance — and match them to your model’s function.
Example:
- Functional parts: use ABS, ASA, or Nylon (PA12).
- Decorative models: use PLA or resin for detail and color.
- Outdoor applications: choose ASA or PETG for UV stability.
3. Design to Reduce Supports
Support structures are necessary for overhangs greater than 45°, but they leave marks and require extra finishing.
Good design minimizes or avoids supports altogether.
Tips:
- Follow the 45-degree rule — design gentle slopes instead of steep overhangs.
- Add self-supporting angles or built-in structural bases.
- Orient your model to print with the least support needed.
Fewer supports = less cleanup, faster prints, and smoother results.
4. Ensure Your Model Is “Watertight”
A print-ready model must be fully closed with no holes or gaps — also called “watertight.”
This means the 3D mesh forms a continuous, sealed surface.
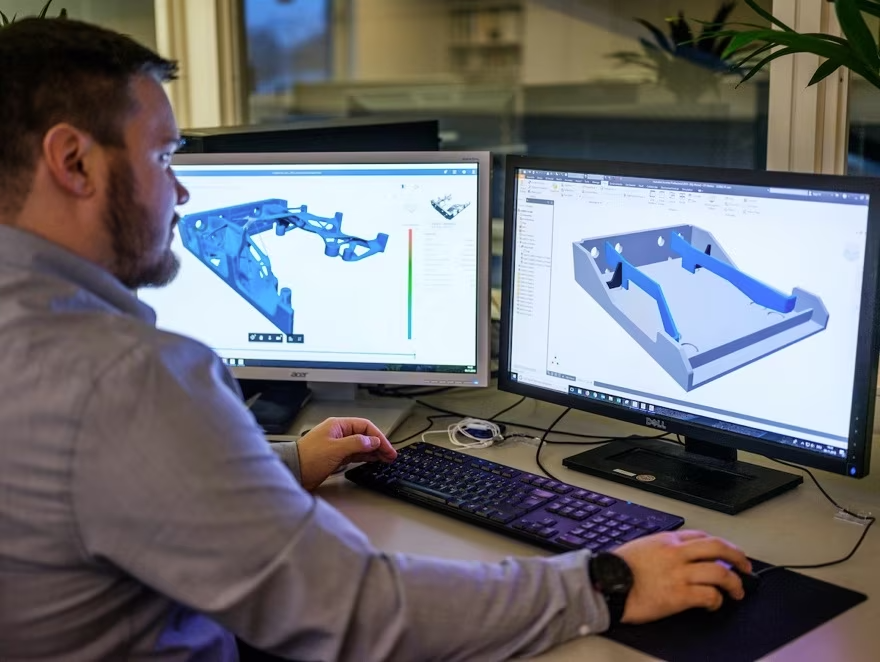
Before exporting to .STL, use your CAD or modeling software to check for:
- Open edges or missing faces.
- Overlapping geometry.
- Non-manifold edges.
Most tools like Fusion 360, Rhino, or SolidWorks include “mesh check” or “repair” functions.
5. Optimize STL File Resolution
The STL file converts your design into triangles. The resolution determines surface quality and file size.
- Low resolution: produces rough, “pixelated” surfaces.
- Too high resolution: creates heavy files that slow down slicing or printing.
Ideal tip:
Keep STL files below 15 MB for stable processing, with a balance between detail and efficiency.
6. Build a Stable Base
The first layer is the foundation of every 3D print.
Design your model to have a wide, flat base to ensure proper bed adhesion and prevent warping or collapse.
Recommendations:
- Add a raft or brim for small footprints.
- Keep the center of gravity low to prevent toppling.
- Avoid thin or narrow contact points at the base.
A strong foundation equals a successful print.
7. Reinforce Weak Areas
Thin or extended sections — like arms, tails, or antennae — are vulnerable during printing and post-processing.
Strengthen them by:
- Increasing their diameter.
- Blending joints smoothly into the main body.
- Adjusting the model’s pose to bring fragile parts closer to the core.
Proper reinforcement prevents breakage and improves model durability.
Conclusion
Designing for 3D printing is both an art and a science.
Understanding geometry, material behavior, and printer capabilities will ensure every project is printed smoothly and accurately.
At Layers 3D Printing, we help designers, students, and engineers refine their 3D models for success — from concept to print.
Because in 3D printing, a great design equals a great result.
👉 Need help reviewing your 3D file?
Contact Layers 3D Printing for a free file check before your next print.
Related Blogs in "Design & Digitalization" Category
No other articles found in "Design & Digitalization" category
Browse all articles or use search to find other interesting content
Browse All ArticlesSearch
Categories
Recent Posts

Dec 20, 2025
•
3D Printing Services
Dec 20, 2025
•
3D Printing Services